

Getting Started
Dataholics is a Zoho marketplace extension that enables users to easily, quickly and automatically update their CRM with insightful information about businesses & individuals worldwide.
Three search engines are included – Company; Contact; Address
Company search – will find company Insights such as registered company name, sector, description, number of employees, year founded and about us description
Contact Search – will find contacts within an organization (using the domain name to search) and display a validated email address, job title and social media link
Address look-up using autocomplete and includes “What3Words” that can pinpoint a worldwide address with an accuracy of within 3 square meters.
Installation
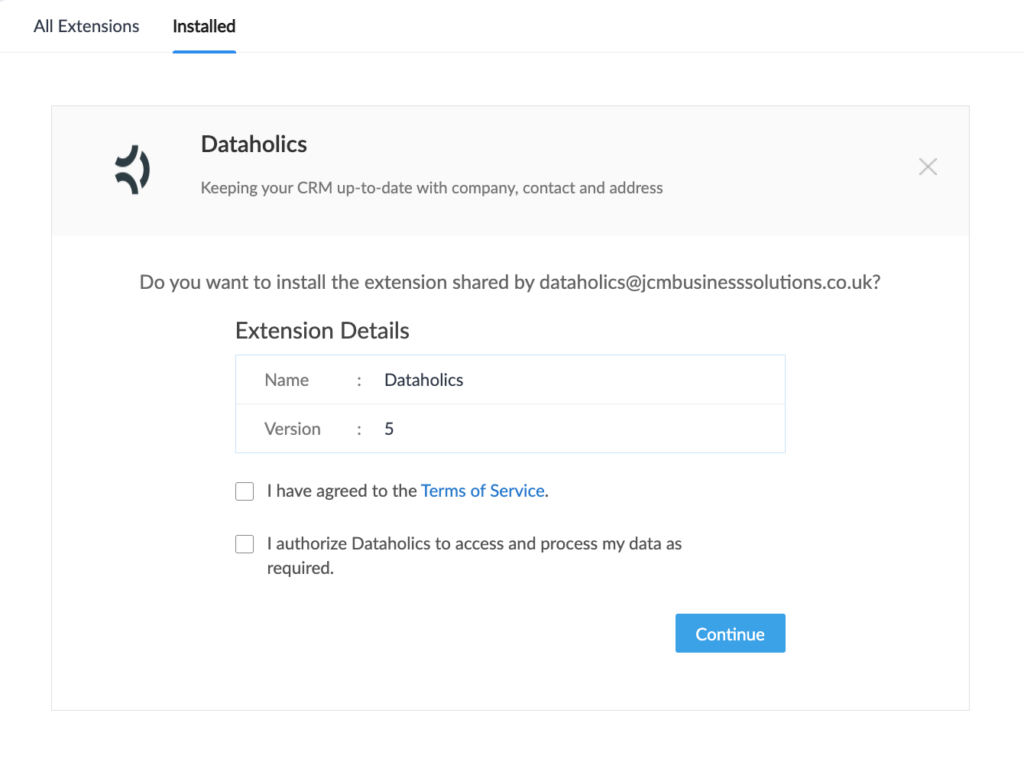
Once you have clicked on the link to install you will need to check box boxes on the following screen then click Continue

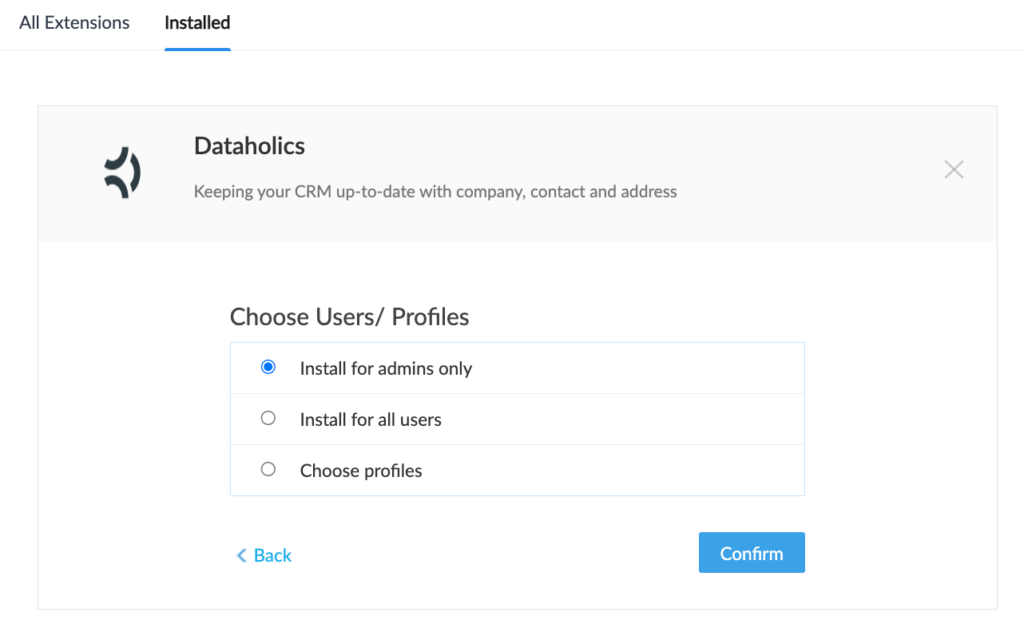
Now select the users/profiles that you wish to provide access to the application to on the following screen then click Confirm

Using the Application
Dataholics may be used within the following modules:
Leads
Deals
Accounts
Contacts
Vendors
For the purpose of this document, all screenshots are from the Leads modules, however, the functionality will operate similarly across the other modules.
Launching Dataholics
Click on the Dataholics custom button located in the top right corner of the view record page from within any record. If this is the first time you have installed a marketplace extension you will see a button labeled Dataholics. Otherwise, you will need to click the dropdown next to the button and locate Dataholics from the list.

User Interface
When launching Dataholics for the first time all three of the search engines are enabled.- Company Enrichment
- Contact Enrichment
- Address Lookup*
Company Enrichment
The company name and website/domain will be pulled through from those fields entered in the Leads record. If no website is present, the application will derive the website from the email address.
Hint: To obtain the best results quickly it is recommended you have either the website and/or email fields completed in the Lead record.
Upon clicking on the Search for company insights button within a couple of seconds the search engine will check for matching details and update up to 7 fields within this section subject to the publicly accessible information available within the databases.
Data that was found and is ready to update will be highlighted in yellow.

The fields to be updated include:
Industry; Specialities; Year Founded; No Of Employees; Company Type; Social Media URL and Description
See Settings – Mapping for details on how to configure your own mapping if needed.
Click Save to save these updates to your CRM record.
Person Enrichment
The Lead name and email address fields will be pulled through from the lead record. If no email is present the search engine will use the website domain.
Upon clicking on the Search for emails and social links button you will be presented with the following pop-up window.

This will list all employees details found at that domain and populate the following fields:
First Name, Last Name, Email, (email) Status; Position; Type; Social media link.
If you can see your Lead Name in this list you may double-click the selected row or single click then click on Update at the bottom of this screen.
If you see a name that would be a better prospect than you had (based on job title) then double-click that name or single click then click on Update at the bottom of this screen.
You may see other names in this list that you also wish to add to the CRM. In this case, click on New Lead. These will be added as Leads directly into your CRM.
Once have clicked on Update then you will return to the Dataholics screen and see the fields that are ready to be updated on your CRM as illustrated below.

Address Lookup including What3words
The third search engine that can be used within Leads is Address Lookup.
Simply select your country then start typing the first line of the address or company name to be presented with a list of addresses that match your search criteria.

Select the address you need and the fields that are to be updated will again appear highlighted in yellow.
Once you see the What3words URL retrieved successfully message you are ready to save all your updates.

Once you have completed the three searches your screen should have many fields highlighted in yellow and the status bar at the top will show you the total number of fields that will be updated in your CRM.
Click Save and then Close to return to your CRM record.
Settings and Configuration
When launching the application you will notice a menu towards the top right-hand corner as shown below which has four options:
Subscription
Statistics
Settings
Help

Subscription
Use this option to select and subscribe to a plan. Below are some guidance notes to help you understand the options.- 1 credit = 1 search *
- The monthly plans are rolling and can be upgraded/downgraded/cancelled at any time
- Credits reset each month with the monthly plans and do not rollover
- Annual plans are at a discounted rate – 12 months for the price of 10
- Annual plans deliver the credits upfront for the year and can be used at any time/month
- Additional ad-hoc credits can be purchased at any time – this feature will be added shortly to the application. In the meantime, you may email hello@thedataholicsapp.com
- All plans are available in GBP, USD and EUR
Statistics
Coming soon……We will expand this area in due course however currently this summarises the number of credits used and the total number of fields updated.
Settings
This area has been split into three tabs:
General
Automation
Mapping
General
Under this tab you may turn off the following which are default to the on position:
Company Insights, Contact Insights, Addres Details
You may also set your default country for address lookup feature.

Automation
In this section you may enable some of the powerful early automation features within Dataholics.

Automatically create contacts linked to Accounts
Enabling this feature will automatically create contacts matching the domain name taking into account any Job Title filters.
So when a new account is created then contacts will be added/created that have an email address of that same domain containing only certain job titles.
For example adding a filter of ‘Director’ will add all contacts with the word Director within the title from that company.. All new contacts will be linked to the parent Accounts record.
Auto Enrich Leads
Enable this feature if you require leads to be enriched automatically – choose either to enrich company, contact or both
– Enrich Lead contact fields (including email, social media link and job title)
Auto Enrich Contacts
Enable this feature if you require contacts to be enriched automatically (including email, social media link and job title).
Mapping
Dataholics uses a combination of existing Zoho fields and custom ones that are created upon installing the application. Whilst you can use these fields, in some cases you may have created your own custom fields already. These mapping tables, allow you to point the Dataholics application to your custom fields.
To use this feature:
Select the Module (from Leads, Accounts, Contacts, Deals)
Click the drop-down next to the field(s) you wish to edit mapping
Select your desired field (s) from the list that appears
Click Save
Repeat the above for any other modules

Registered Limited Company of England and Wales 14581751.
Registered Office: 67 Bird Hall Lane, Stockport, England, SK3 0XA 2023 2023
© All rights reserved
